In another post I talked about about a preference for using a MiSTer FPGA when playing older games. Thing is, I don't have a MiSTer. I have a couple.
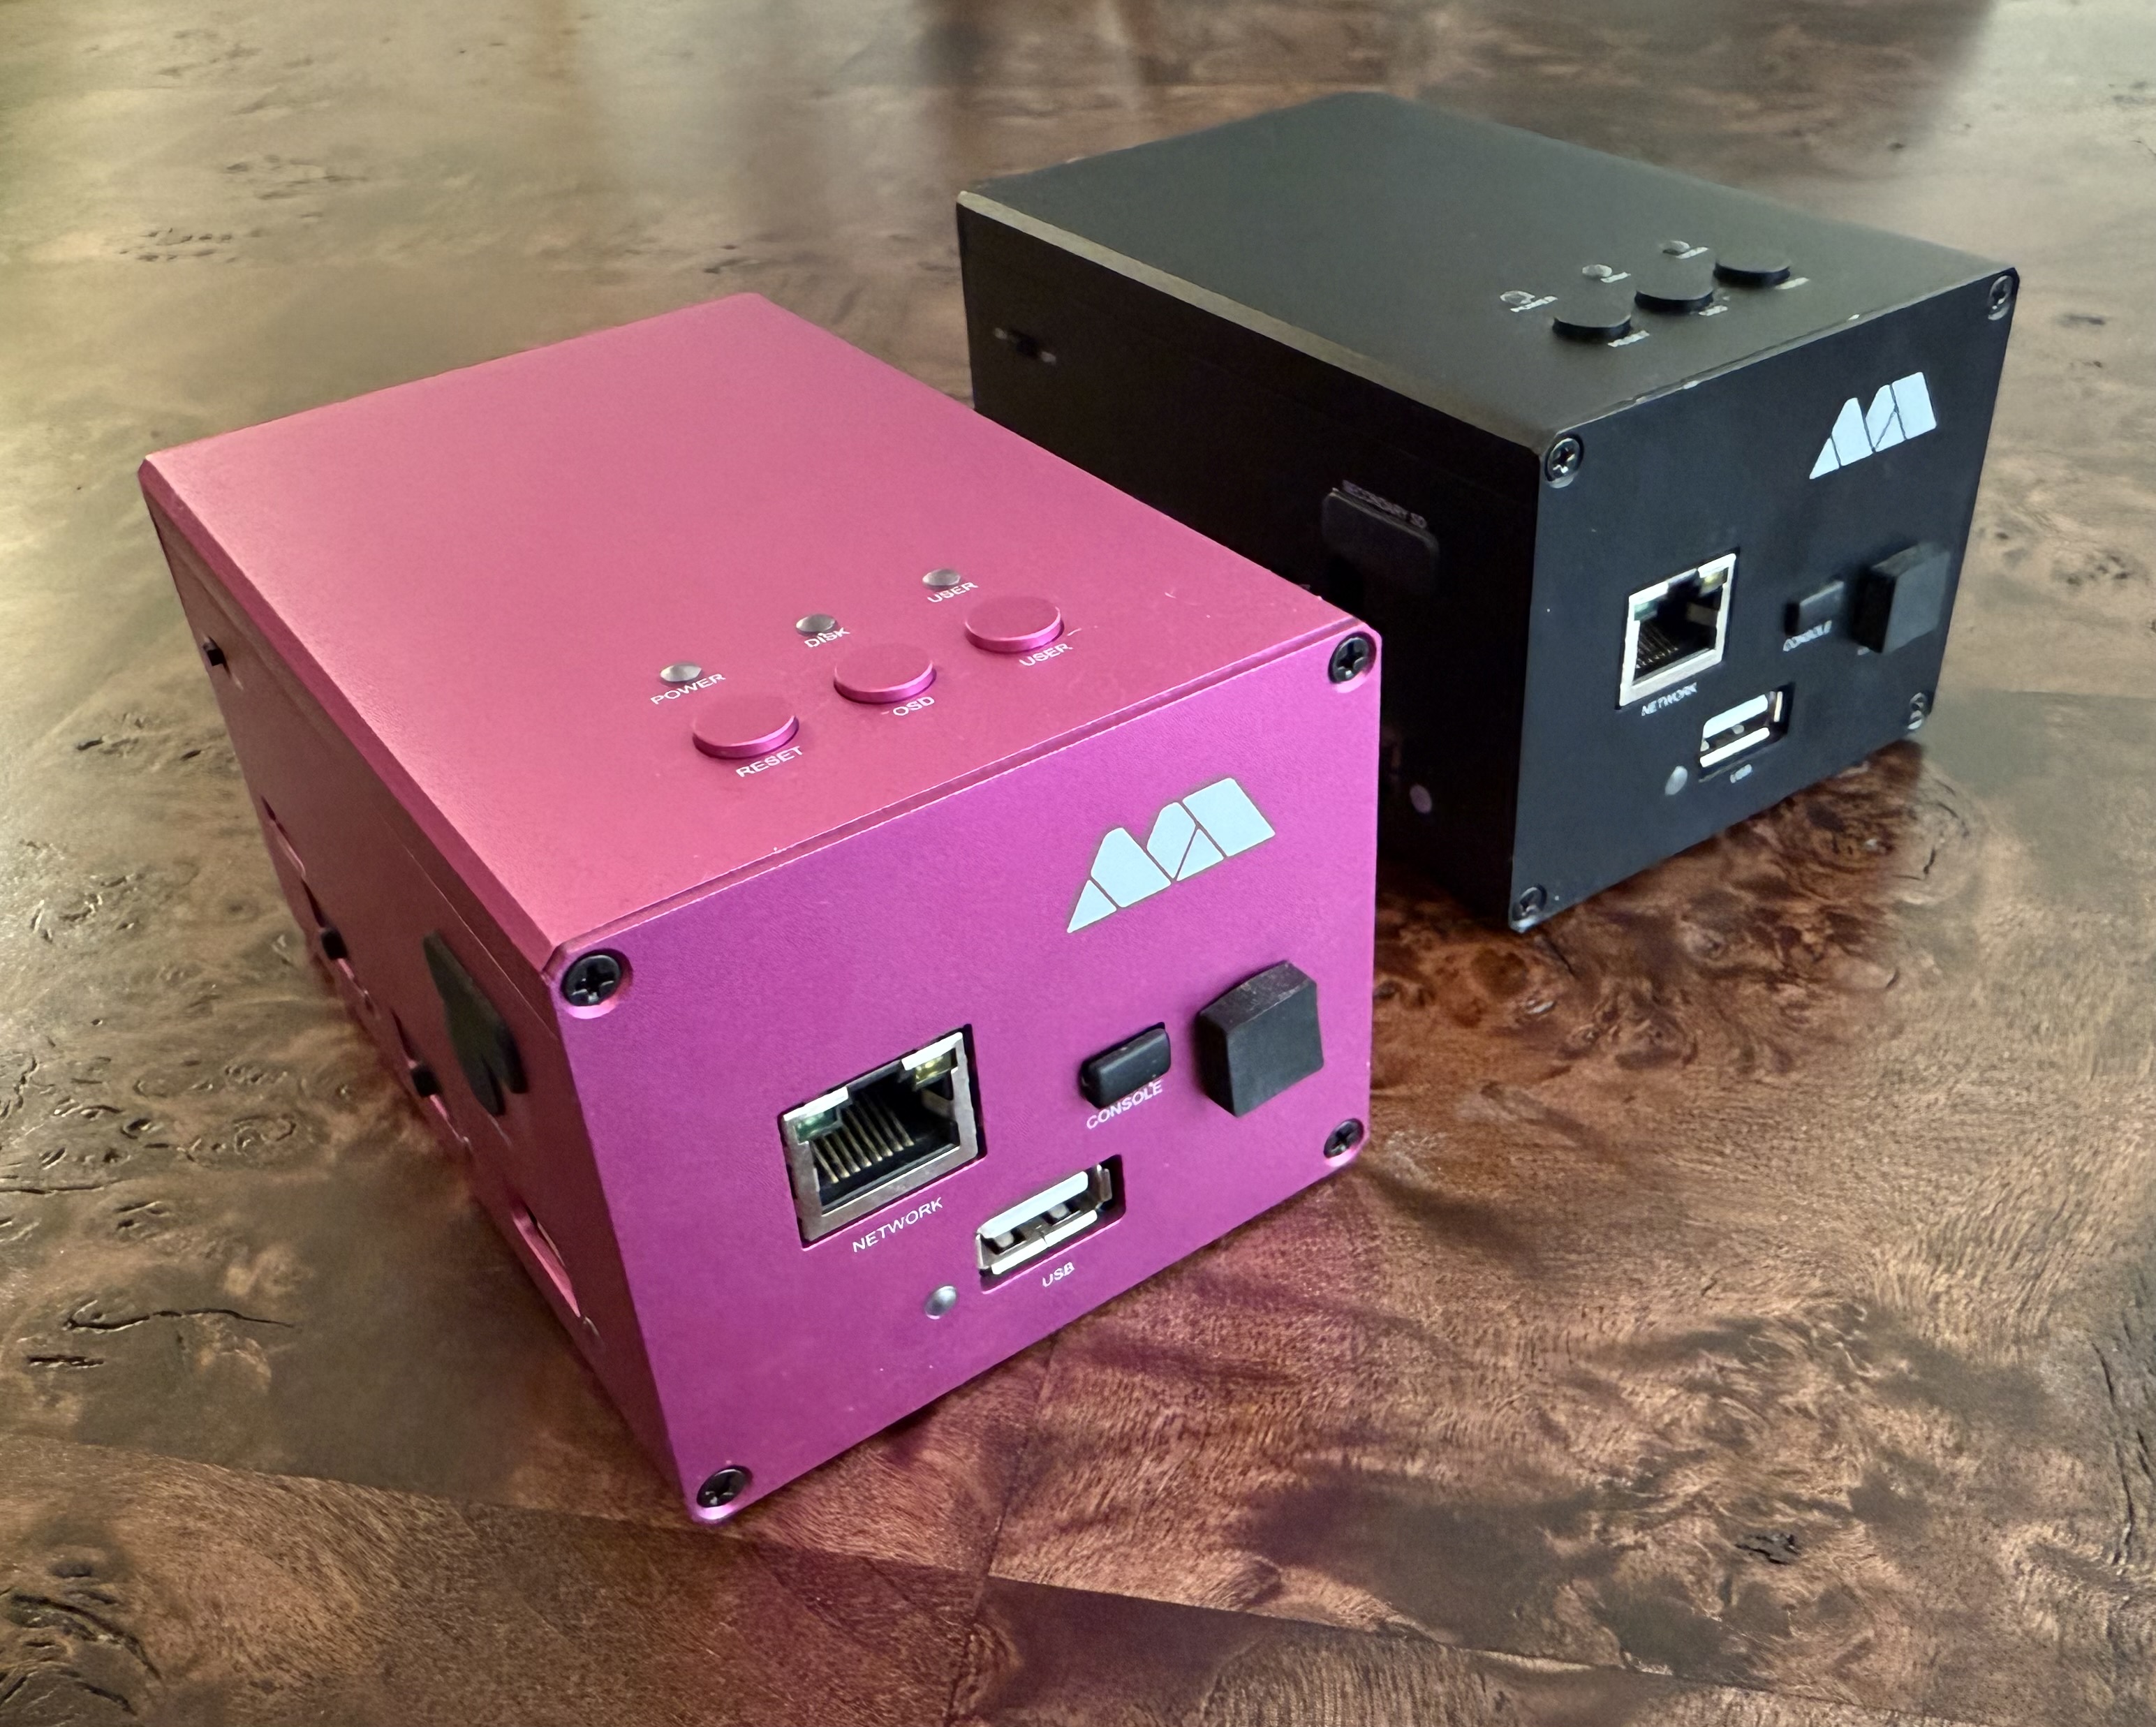 MiSTer-1 and MiSTer-2
One is connected to a CRT in my workshop, and the other (via another overly complicated upscaling setup) to the TV in our living room. I'll probably add a third to my office desk at some point. A friend of mine has at least three. If you leave these things alone unsupervised you'll get home and find they've multiplied.
OK, SO. Having two of these things is great. Keeping them in sync? Less great. If I pickup some new PS1 game and back it up, now I have to copy the backup onto two devices. If I'm playing a game in one room and want to move other to the other, suddenly I have to get on a computer and open a shell and starting writing SCP commands and I don't wanna do any of that, let me play my video game.
Thankfully I have a big block of network storage and I know how to symlink.
I originally wrote these steps up for a friend who wanted to recreate a similar setup with his MiSTers.
NAS Prep
I have a pair of NASes (NASs? NASeses?) on my network that I use for all kinds of things, from backups to storing video sources I use in editing projects. They're the ideal spot to create a pseudo cloud sync for these little FPGA boxes. So how do we get there?
Setting things up on the NAS side will vary based on your setup. I'm using a Synology running the stock DSM OS. You can do this with open source NAS environments or gaming-specific offerings like RetroNAS, but I haven't used them and cannot guide you on how to set them up. To get this working on my storage, I did the following:
- enabled Samba
- created a user named
misterwith read/write privileges on the appropriate shared volume (namednas2in my case). - created a
MiSTer/directory on the volume and with an emptystub.txtto help with a later step - grabbed the NAS's IP
- On a Synology you can quickly find this under Control Panel → Network or by SSHing in and
running
ifconfig. It's probably easiest to grab it from your router. - If you want, you can also assign a stable IP or hostname for the NAS and use that in MiSTer setup below.
- On a Synology you can quickly find this under Control Panel → Network or by SSHing in and
running
From there it's pretty much ready to go. Everything that happens next happens on the MiSTers (MiSTerses? MiSTeri?).
MiSTer Prep
This section assumes your MiSTer is already on the network and you know how to SSH into it.
A stock MiSTer sets up shop on its microSD card under the /media/fat/ directory. There's a lot going on in there.
An abbreviated sample:
_Arcade/
Cheats/
_Computer/
config/
_Console/
cores/
games/
linux/
menu.rbf
MiSTer
MiSTer.ini
_Other/
saves/
savestates/
screenshots/
Scripts/
_Utility/
I've removed quite a few files and directories from the output here in the interest of only painting the general picture. The most important directories in play for what we're trying to accomplish are the following:
games/
saves/
savestates/
screenshots/
Scripts/
The Scripts/ folder is the standard directory for helper scripts; the widely used update_all.sh known to
practically everyone with a MiSTer usually lives there. We're going to pick up another helper script: cifs_mount.sh
from the optional Scripts_MiSTer repo:
https://github.com/MiSTer-devel/Scripts_MiSTer/blob/master/cifs_mount.sh
This utility can create a local cifs/ mount for accessing network storage. We'll be using it to connect to the NAS.
With that placed into the Scripts/ dir, we create a cifs_mount.ini file in the same directory. That will
look something like this:
SERVER="192.168.1.100"
SHARE="nas2"
SHARE_DIRECTORY="MiSTer"
USERNAME="mister"
PASSWORD="[redacted]"
MOUNT_AT_BOOT="true"
This is all setup for how I configured my NAS in the previous example. The SERVER uses the IP grabbed earlier,
along with the shared volume, what folder within the shared volume I want to mount for the cifs/ folder, and the
provisioned user's name and password. The final line tells the script to set itself up to automatically start on reboot.
From here, we can run the script to mount the network share:
/media/fat/Scripts# chmod u+x cifs_mount.sh
/media/fat/Scripts# ./cifs_mount.sh
Waiting for 192.168.1.100
cifs mounted
Done!
If everything went according to plan, the /media/fat/ directory should have a new cifs/ folder that
accesses the share.
cd ..
ls cifs
If that lists the stub.txt created earlier, we're connected and ready to rock. All we have to do now is some
folder surgery to make the experience a bit more ergonomic.
In theory, the MiSTer should prefer loading games from the cifs/ mount if it has a games/[console] subdirectory
for the console you're loading. In practice, that never seemed to quite work right for me; lots of utilities and extra
MiSTer features don't really pay attention to it. It also doesn't help us with the save file issue mentioned earlier.
We're going to symlink in from cifs.
If you're not familiar with symlinks (aka symbolic links): you can think of a symlink as something similar to a shortcut or an alias. The symlink is a pointer to another file that pretends it's that file when accessed. This is going to let us trick the MiSTer into looking at our network drive instead of the files on the microSD card whenever it tries to find games, save, or take a screenshot.
At first I was worried about core scripts needing to access a real /media/fat/games/ directory, so I left it alone
and did some simple ugly bash loops to recreate everything on the network share. There where while loops and pipes. It
got kinda hairy. On MiSTer-2 I said no thanks, we ball and just linked that thing right off of cifs. It's been 100%
fine. In /media/fat/:
mv games cifs/
ln -s cifs/games .
ls -l games
You should see a line similar to games -> cifs/games. All the MiSTer console folders should now be there.
At this point, you should try putting backups into the appropriate MiSTer/games/ folder on the NAS, boot the
appropriate MiSTer core and see if the games show up. Once that's confirmed working, repeat the previous three steps
for the saves/, savestate/, and screenshots/ folders.
And that's it: no reboots, no re-inits, no need to do anything else. As soon as the links are established, you should be up and running.
How it plays out
The beauty of this approach is that there's no sync. When a backup is entered into storage, it's immediately available to all devices. When one MiSTer commits a save, the next MiSTer that attempts to read saves for that game sees the updated copy immediately. This allows me to jump between devices completely seamlessly, picking up my progress without ever having to worry about manual file management.
If you're worrying about file contention: look. For all practical use cases, we're talking about one or two people using
a couple of shared devices. If you had a large household of many people using many MiSTers, you might want to
organize games for consoles like PSX (which have virtual memory card implementations) into individual folders so that
they each get their own virtual memory card in saves/ for a bit of extra safety. Then you'd have to have two people
trying to play the same game at the same time to run into a conflict. I'm not going to solve that problem today, since
I do not have it.
Another perk of this approach is that even with 7200 rpm hard drives in the NAS, reading files from over a gigabit local network connection is significantly faster than reading off the microSD card. The DE10-Nano is a great little device that paved the way for some really exciting projects. It also has a slow SD card slot! I've had read speeds over twice as fast off the NAS as reading from the microSD card directly on the device. Sometimes nothing about computers makes any kind of intuitive sense.